
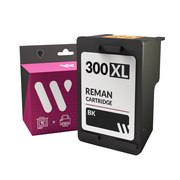
Compatible HP 300XL Black
Ref.: CCHP300XLBK
Colour :
Black
Ink (ml) :
18.00ml
VAT included
![]() Available
Available
![]() Available under order
Available under order
![]() Sold out
Sold out
![]() Soon
Soon
![]() Discontinued
Discontinued
![]() Available
Available
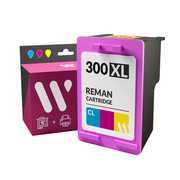
Compatible HP 300XL Colour
Ref.: CCHP300XLCL
Colour :
Colour
Ink (ml) :
15.00ml
VAT included
![]() Available
Available
![]() Available under order
Available under order
![]() Sold out
Sold out
![]() Soon
Soon
![]() Discontinued
Discontinued
![]() Available
Available
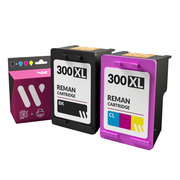
Compatible HP 300XL Black/Colour Pack
Ref.: CCHP300XLPK
Colour :
Multicolour
VAT included
![]() Sold out
Sold out
Activate the notification and we'll let you know!
![]() Available under order
Available under order
![]() Sold out
Sold out
![]() Soon
Soon
![]() Discontinued
Discontinued
![]() Available
Available
Activate the notification and we'll let you know!


HP 300 Black Original
Ref.: ORHP300BK
Colour :
Black
Ink (ml) :
4.00ml
Yield :
200pag.
VAT included
![]() Available
Available
![]() Available under order
Available under order
![]() Sold out
Sold out
![]() Soon
Soon
![]() Discontinued
Discontinued
![]() Available
Available
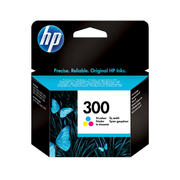
HP 300 Colour Original
Ref.: ORHP300CL
Colour :
Colour
Ink (ml) :
4.00ml
Yield :
165pag.
VAT included
![]() Available
Available
![]() Available under order
Available under order
![]() Sold out
Sold out
![]() Soon
Soon
![]() Discontinued
Discontinued
![]() Available
Available
HP 300 Multicolour Pack Negro/Color Original
Ref.: ORHP300PK
Colour :
Multicolour
VAT included
![]() Available
Available
![]() Available under order
Available under order
![]() Sold out
Sold out
![]() Soon
Soon
![]() Discontinued
Discontinued
![]() Available
Available
HP 300XL Black Original
Ref.: ORHP300XLBK
Colour :
Black
Ink (ml) :
12.00ml
Yield :
600pag.
VAT included
![]() Sold out
Sold out
Activate the notification and we'll let you know!
![]() Available under order
Available under order
![]() Sold out
Sold out
![]() Soon
Soon
![]() Discontinued
Discontinued
![]() Available
Available
Activate the notification and we'll let you know!